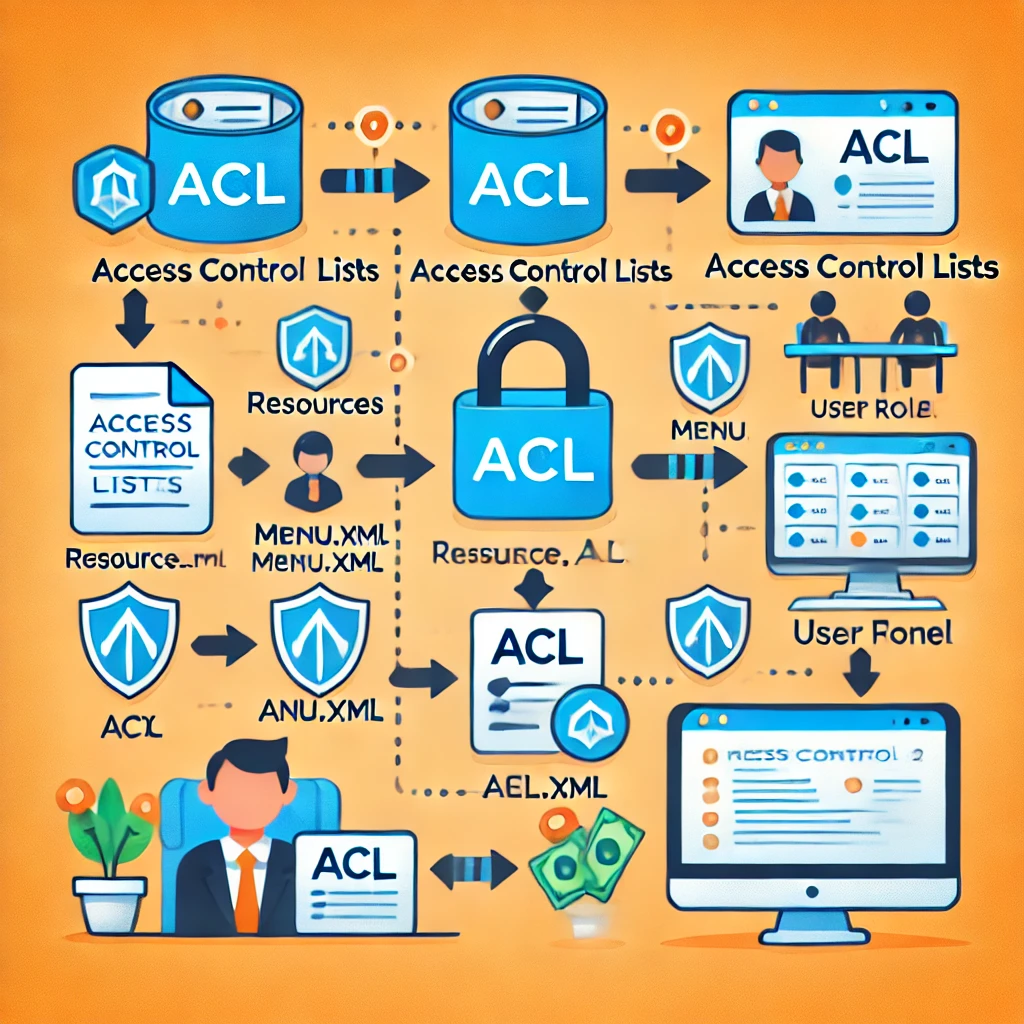
In Magento 2, the Access Control List (ACL) system helps store owners manage user permissions for various actions in the admin panel. This ensures that only authorized users can access certain sections or perform specific tasks. However, you might have situations where you want to add actions to the ACL that are not part of the menu system. In this blog post, we will walk through the process of adding such actions to the ACL in Magento 2 and how to check user permissions programmatically.
What is ACL in Magento 2?
ACL is a security feature in Magento 2 that controls what each user role can access or modify in the admin area. It defines which pages, actions, and resources a user is allowed to interact with, providing a way to manage permissions and secure your store’s backend. Magento uses ACL rules to govern permissions in both the admin panel and web API calls.
Step 1: Create the menu.xml File
The first step is to create a menu for your custom functionality. Even if you don’t have a menu item but still want to restrict access to certain actions, creating a menu.xml file will help you manage your module’s admin interface.
Here’s an example of a simple `menu.xml` file that adds a menu item to your module:
This XML file creates a new menu item in the admin panel. When an admin creates a new role, they can assign permissions to this menu item.
Step 2: Define ACL Rules in acl.xml
Once the menu is set up, the next step is to define ACL rules. This is done in the `acl.xml` file, which is used to declare resources required for accessing actions in the admin panel.
Here’s an example `acl.xml` for defining ACL rules in your module:
In this example, the `Vendor_CustomModule::config` resource is defined, which controls access to the configuration page of your module. Admin users can be assigned permission to this resource when creating roles.
Step 3: Programmatically Check ACL Permissions
Now that your ACL rules are defined, you can check if the logged-in user has permission to access specific actions. Magento provides a service called `Magento\Framework\AuthorizationInterface` to check if a user has permission for a given resource.
Here’s how to use it in your code:
public function __construct(
    \Magento\Framework\AuthorizationInterface $authorization
) {
    $this->authorization = $authorization;
}

public function checkPermission()
{
    if ($this->authorization->isAllowed('Vendor_CustomModule::config')) {
        // User is allowed to access the configuration page
    } else {
        // User does not have permission
    }
}
In this example, the code checks if the user has permission for the `Vendor_CustomModule::config` resource, which is defined in the `acl.xml` file.
Step 4: Secure Non-Menu Actions
Sometimes, you may want to secure actions that are not part of the menu, like custom actions or API endpoints. You can still protect these actions using ACL by declaring them in `acl.xml` and checking permissions before allowing access.
Here’s how to check permissions for a custom API action:
public function someApiAction()
{
    if ($this->_authorization->isAllowed('Vendor_CustomModule::api_action')) {
        // Proceed with the action
    } else {
        // Deny access
    }
}
Conclusion
Adding actions to the ACL in Magento 2 is an effective way to ensure that only authorized users can access certain parts of your admin panel, even if those actions are not part of the standard menu. By following the steps outlined in this guide, you can secure your custom functionalities and protect sensitive actions from unauthorized access.
Magento’s ACL system provides a flexible and powerful way to manage user permissions. Whether you’re adding menu-based actions or securing non-menu actions, Magento’s ACL system ensures that your admin panel remains secure and controlled.
